AIenhancer
AIenhancer
Enhance an image

Make more of every image.

Android photo workflow

A practical best ai photo enhancer android guide

Choosing the best ai photo enhancer android option is less about chasing a perfect app and more about matching the tool to the photo, the fix, and the final use. Start with a clear goal, enhance selectively, and inspect the result before sharing or exporting.

Free to start · no signup
AI-enhanced photo workflow shown on a mobile device

Choose your route

The Android photo problem

Android cameras make it easy to capture more moments, but small screens and mixed lighting can hide blur, noise, and lost detail until the image is already worth sharing.

Know the limits

Three workflows for common Android photos

An enhancer can recover useful visual detail, but it cannot recreate every missing fact. These limitations help you choose a realistic target and a safer workaround.

It cannot truly recover severe motion blur

When a subject moved during exposure, an AI model may produce a cleaner-looking image without restoring the exact facial or edge detail that was never captured.

Workaround

Try a sharper frame from the same burst, reduce sharpening, and keep the original beside the enhanced version.

It cannot guarantee natural faces

Strong face enhancement can smooth pores, alter small features, or make an expression look artificial, especially in low-resolution selfies.

Workaround

Use a light pass, inspect the eyes and mouth at full size, and avoid enhancement settings that invent conspicuous detail.

It cannot fix every composition problem

Enhancement improves pixels; it does not automatically solve distracting backgrounds, awkward cropping, closed eyes, or a subject placed too close to the frame edge.

Workaround

Crop first when the subject is clear, or use a dedicated editor after enhancement for framing and selective cleanup.

It cannot make a private file risk-free

Uploading a photo to an online service involves a data-handling decision, particularly for identity documents, children, medical images, or confidential work.

Workaround

Read the service terms, remove sensitive metadata when appropriate, and avoid uploading images that you are not permitted to share.

Simple process

Example output from three focused workflows

The strongest results usually come from giving each photo one clear job instead of applying maximum enhancement to everything in the camera roll.

  1. 1

    Clean up a dim portrait

    Describe the lighting problem and the detail you want preserved. Ask for balanced exposure, restrained noise reduction, and natural skin texture rather than a plastic-looking face.

  2. 2

    Restore a scanned memory

    Start with the highest-quality scan available. Request gentle sharpening and repair of faded contrast, then compare the eyes, hair, and fine clothing detail against the original.

  3. 3

    Prepare a product shot

    Use a clean source image and describe the intended use. Prioritise crisp edges, readable labels, and accurate colours, then inspect the background and small text before publishing.

See the difference

Example output without losing the original

Turn a difficult Android photo into a clearer starting point

A useful enhancement should make the intended subject easier to see while preserving the evidence and character of the source image.

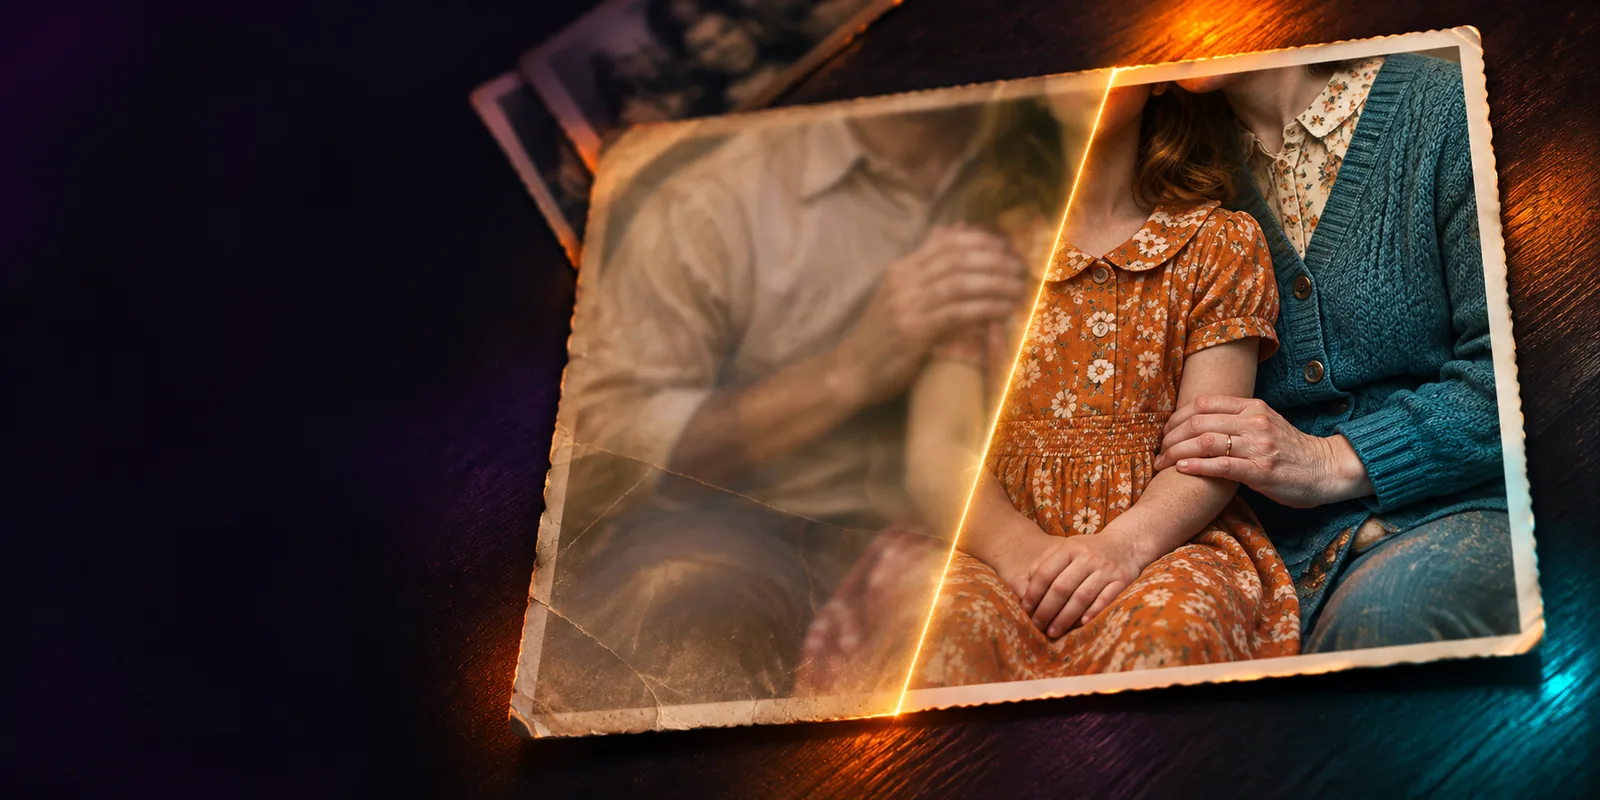
For a portrait, the improvement may appear as cleaner shadows, more legible eyes, and less distracting noise. For a scanned family image, the useful change may be restored contrast and clearer separation between hair, clothing, and background. For a product photo, the result should make edges and surfaces easier to inspect without changing the product's actual shape or colour. Save the original file first, compare the versions at full size, and keep the enhanced copy separate from the camera original. That simple habit makes it easier to reverse an overprocessed edit.

Enhance a photo
  • Keep the source image unchanged
  • Review faces and fine text at full size
  • Use the lighter result when details look invented

Android FAQ

Scenario FAQ

Start with the sharpest original available, preferably from a burst or a shared set of images. Use moderate enhancement and compare facial features, text, and edges closely, because an AI tool can make blur look cleaner without recovering the exact missing information.

It can often improve contrast, reduce visible noise, and make some edges easier to inspect. Results depend on the source, so keep expectations realistic and preserve the original before testing a stronger enhancement.

Safety depends on how the service handles uploaded files, personal data, retention, and deletion. Avoid uploading sensitive images unless you have checked the provider's current terms and have permission to process the photo.

Crop first when the subject is clear and the crop removes irrelevant background, but keep the uncropped original available. For small subjects, enhancing the full image first may preserve more context before you make the final crop.

No tool can reliably remove every kind of blur or noise without trade-offs. Heavy processing may create halos, smooth natural texture, or invent details, so use the lightest result that solves the viewing problem.

Enhance an image
Enhance an image