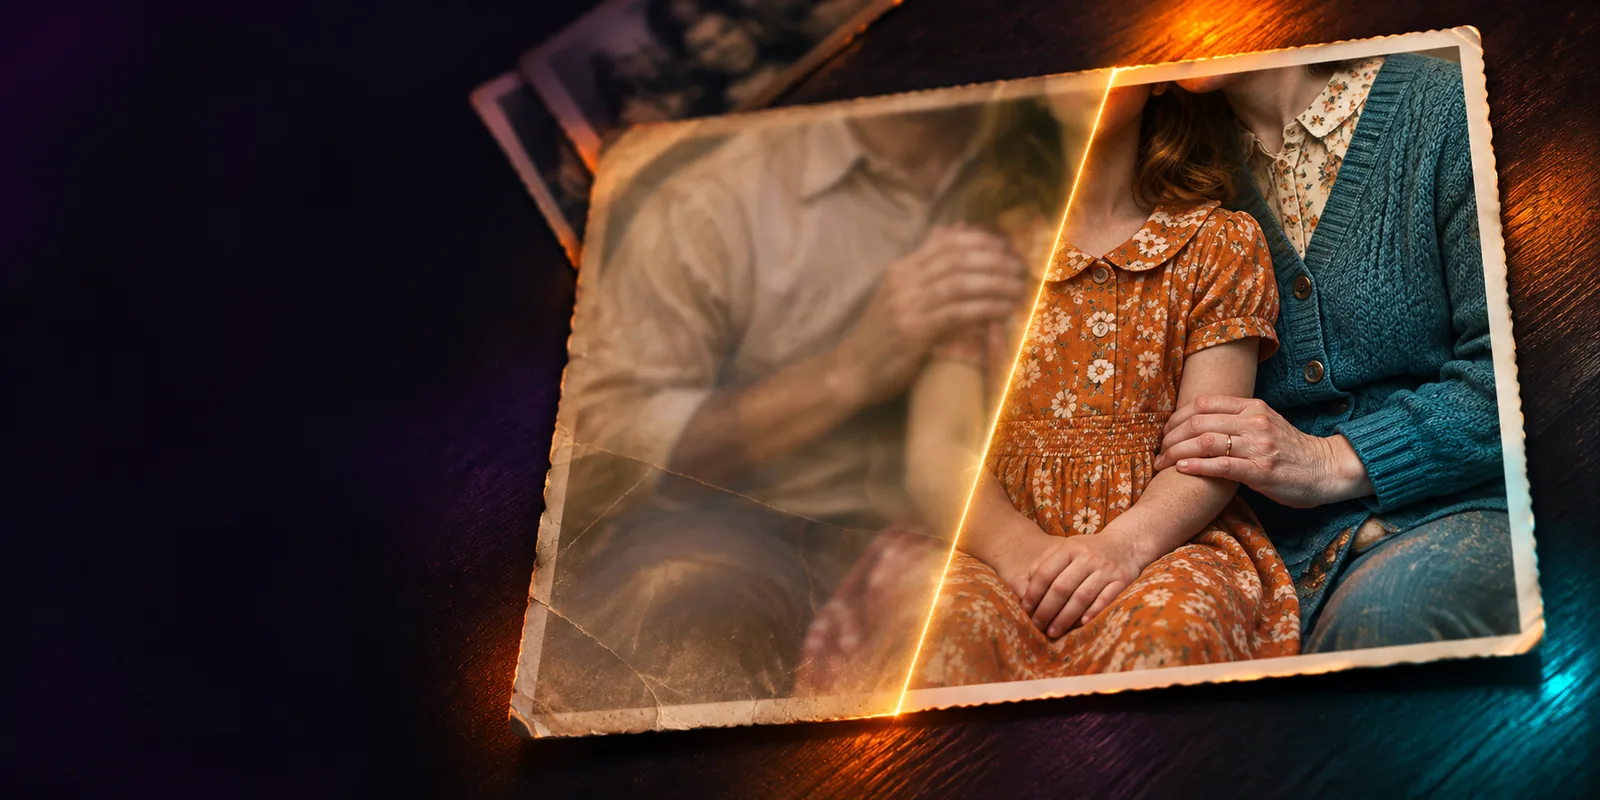
Family archivist
A scanned or older family photo looks soft, faded, or uneven after digitization.
A careful enhancement pass can make faces and clothing easier to recognize while keeping the original character visible.
ai enhancer onlineMake more of every image.
An ai enhancer for photo edits can recover visible detail, balance uneven light, and make ordinary images easier to use without rebuilding the whole picture.
A useful result comes from separating the original image, the requested improvement, and the final quality check.
Start with the photo that needs help and describe the issue clearly: softness, noise, weak contrast, color imbalance, or missing definition.
The tool analyzes visual structure and adjusts the requested qualities while aiming to preserve the subject, composition, and recognizable details.
Zoom into faces, text, edges, and small patterns. Keep the result when it looks natural, or refine the request if the first pass changes too much.
The right approach depends on what is wrong with the source image. These distinctions help you choose a focused edit instead of asking for an undefined “better” result.
Primary purpose
AI enhancement
Improve visible quality while preserving the existing image
Manual photo editing
Change, retouch, or redesign selected parts of the image
Best starting point
AI enhancement
A photo that is soft, noisy, dim, or slightly unbalanced
Manual photo editing
A photo that needs deliberate creative or local changes
Detail recovery
AI enhancement
Can clarify edges and patterns when enough source information remains
Manual photo editing
Usually depends on sharpening controls and careful local masking
Lighting correction
AI enhancement
Can address overall brightness and contrast as part of one request
Manual photo editing
Offers direct control over exposure, curves, highlights, and shadows
Creative control
AI enhancement
Useful for focused improvements with less manual adjustment
Manual photo editing
Better suited to precise compositing, retouching, and layered work
Quality check
AI enhancement
Requires inspection for invented texture, halos, or unnatural faces
Manual photo editing
Requires inspection for clipping, masks, color shifts, or over-editing
Different people notice different problems in the same image. Start with the use case that matches your source and judge the result at the size where it will actually be used.
A scanned or older family photo looks soft, faded, or uneven after digitization.
A careful enhancement pass can make faces and clothing easier to recognize while keeping the original character visible.
ai enhancer onlineA product photo has weak separation from its background or lacks crisp edges on a marketplace listing.
Improved clarity and balanced lighting can make the item easier to inspect without replacing the whole scene.
free ai enhancerA portrait captured indoors contains low-light noise and slightly soft facial detail.
A focused request can reduce distraction and strengthen important features, provided skin texture remains natural.
ai enhancer tutorial freeA phone image looks acceptable on screen but loses impact when cropped for a post or print.
Enhancement can give the crop more usable definition, followed by a final check at the intended output size.
best ai photo enhancer androidEnhancement improves what the source can support; it cannot reliably recreate information that was never captured. Use these checkpoints before treating a result as a faithful restoration.
Describe the visible problem, request a restrained improvement, and review the result against the original. A focused workflow is usually more dependable than asking for a dramatic change with no quality criteria.
Enhance a photoIt analyzes an existing image and applies targeted improvements such as clearer edges, reduced noise, stronger contrast, or more balanced lighting. The aim is to make the photo more usable while keeping its main subject and composition recognizable.
It can sometimes make a mildly soft photo look clearer, especially when the original still contains recognizable edges and texture. It cannot reliably reconstruct accurate detail from severe motion blur, heavy compression, or an image that is too small.
It may introduce or alter fine texture when the source does not provide enough information, particularly around faces, hair, text, and patterned surfaces. Review those areas closely and use a more restrained request when preserving identity or exact appearance matters.
It can help prepare an image for printing by improving apparent clarity and correcting distracting noise or uneven light. Always inspect the result at the intended print size, because a screen preview can hide halos, artificial texture, or weak detail.
Use a copy and keep the untouched original separately. This makes it easier to compare changes, try a different instruction, or return to the source if the enhancement looks unnatural.