AIenhancer
AIenhancer
Enhance an image

Make more of every image.

Practical image guide

Follow this ai enhancer tutorial free for clearer photos

This ai enhancer tutorial free walks you through a careful photo-improvement workflow, from choosing a suitable image to reviewing the final result and correcting weak details.

Review the result before saving
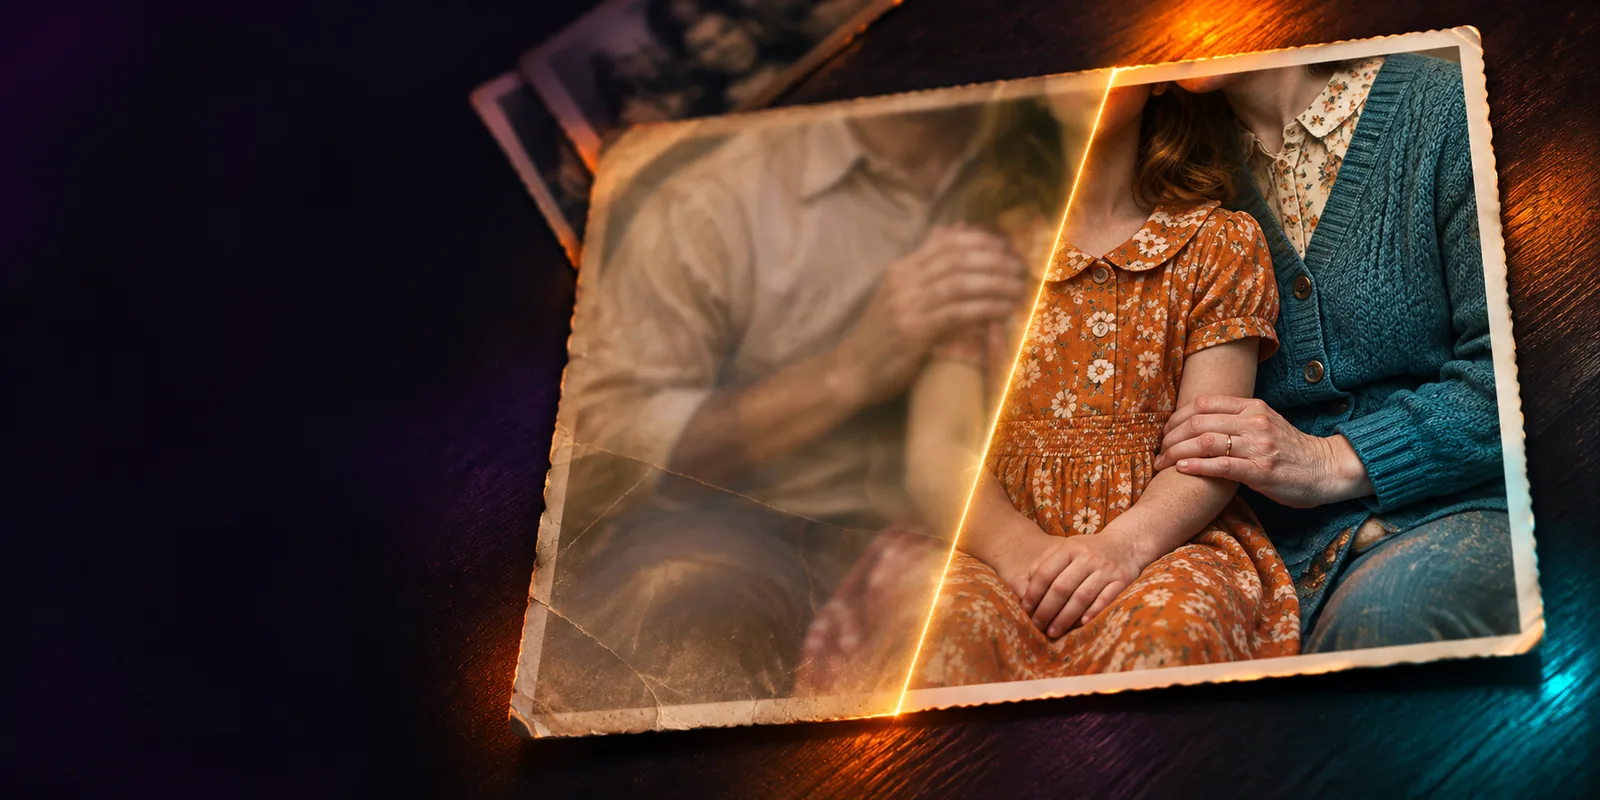
AI-enhanced image shown in a polished visual workspace

Start prepared

Prerequisites

A good result depends as much on the source image and your goal as on the enhancement itself. Gather the right file and decide what should improve before you begin.

Choose your starting point

The same workflow works for different image goals, but your review criteria should change with the subject. Pick the closest scenario before uploading.

Family archivist

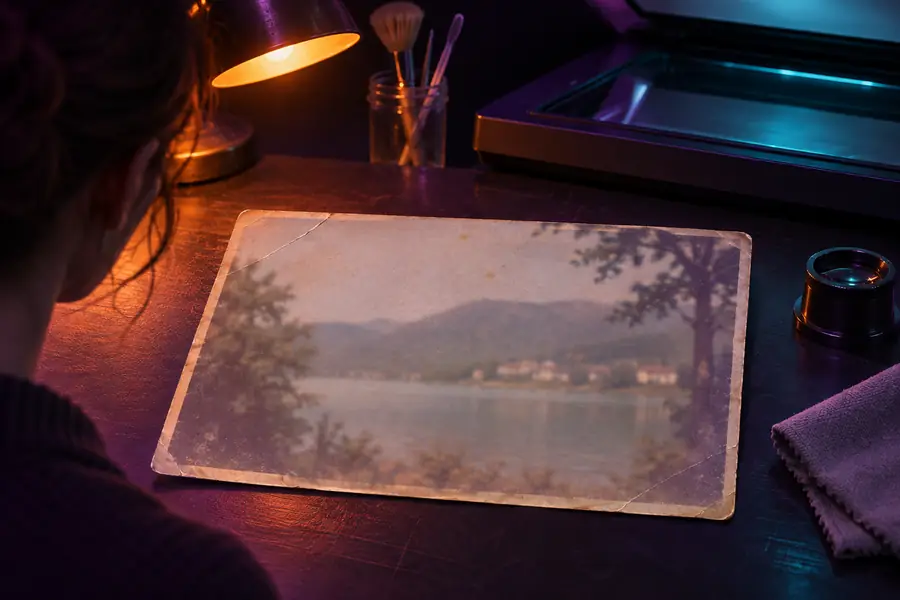
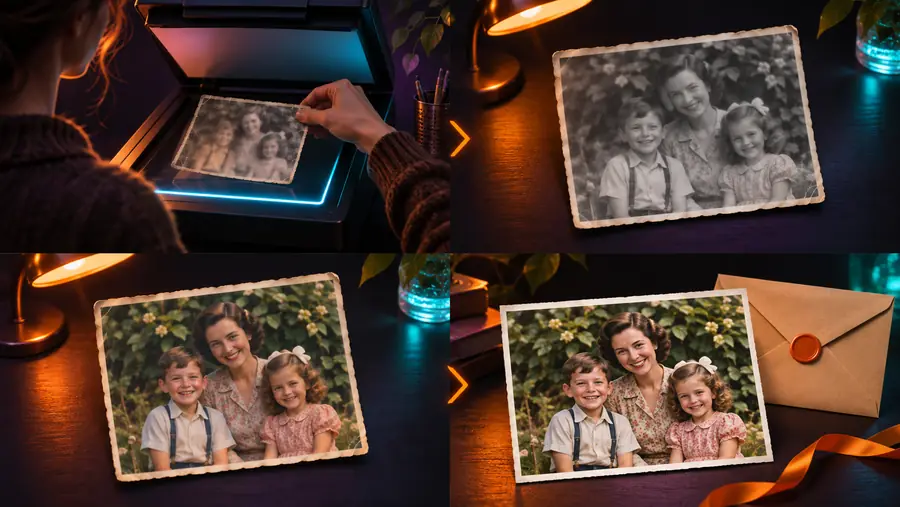
You are restoring a scanned family portrait with faded contrast, small scratches, or soft facial detail.

Start with a restrained enhancement and compare skin texture, edges, and background grain before accepting the result.

ai enhancer for photo
Online seller

You need a product image that looks cleaner without changing the item’s shape, color, or identifying features.

Prioritize sharp edges and a neutral background, then inspect labels and small text for invented or distorted detail.

ai enhancer online

Mobile photographer

You captured a low-light street or travel photo and want more visible detail without making noise too obvious.

Use moderate improvement, check shadow areas at full size, and keep the original beside the enhanced version.

best ai photo enhancer android

Creative hobbyist

You are refining an illustration or generated image whose lines look soft and whose colors need a cleaner presentation.

Check line consistency and small decorative elements closely so added detail supports the artwork instead of changing its style.

ai enhancer vs photo editing

The core workflow

Numbered steps

Keep the first pass simple. A clear goal, a controlled enhancement, and a deliberate review make it easier to tell whether the image actually improved.

  1. 1

    Choose and inspect the source

    Select the highest-quality original available. Look for blur, compression, noise, poor exposure, small faces, fine text, and areas where detail is already missing. Decide which problem matters most before making any change.

  2. 2

    Describe the intended improvement

    State what should become clearer and what must remain unchanged. For example, ask for improved facial detail and balanced contrast while preserving natural skin, realistic colors, and the original composition.

  3. 3

    Review, compare, and refine

    Check the result at normal viewing size and at a closer zoom. Compare it with the source, inspect faces and lettering, and reduce the intensity or revise the request if the image looks overly smooth or artificial.

Quality check

Common errors and fixes

Use a before-and-after comparison as a diagnostic, not just a showcase. The goal is a more useful image, not the most dramatic transformation.

Original photo before enhancement review Before
Photo after detail and clarity enhancement After
Compare faces, edges, text, and shadows before deciding.

Refine the result

Advanced tips

Once the basic process feels predictable, use these checks to avoid trading one visible problem for another.

It cannot recover detail that was never captured

A severely blurred, tiny, or heavily compressed image may not contain enough information for a faithful reconstruction.

Workaround

Use the largest original available and keep expectations focused on cleaner presentation rather than perfect recovery.

It may invent texture or fine detail

Enhancement can make fabric, hair, skin, signs, and architectural edges look more definite than the source supports.

Workaround

Inspect important areas at high zoom and reject the result if added detail changes identity, wording, or factual content.

It does not replace creative editing

Improving clarity and resolution is different from removing objects, changing a composition, correcting perspective, or creating a new visual style.

Workaround

Use a focused editing workflow for structural changes, then enhance the final image as a separate step.

One setting will not suit every image

A family portrait, product photo, illustration, and dark landscape need different levels of restraint and different review criteria.

Workaround

Run a conservative first pass, compare it with the original, and adjust the request around the image’s actual weakness.

Put the tutorial into practice

You now have a repeatable method: start with the best source, describe one clear improvement, inspect the output carefully, and keep the original available for comparison. Try the workflow on a non-critical copy first, then apply the same checks to the images that matter most.

Enhance my photo
  • Start with a clear improvement goal
  • Compare the output with the original
  • Check faces, text, edges, and shadows

Questions answered

Tutorial FAQ

These answers cover the practical decisions people commonly make when following an AI enhancement tutorial for the first time.

Choose the largest, cleanest original image you have and make a copy if the file is important. Decide whether your main goal is clarity, noise reduction, better contrast, or a more polished presentation before you begin.

Ask for one specific improvement and name the qualities that must stay natural. A useful request might ask for clearer detail and balanced contrast while preserving the original composition, realistic colors, and facial features.

Compare the result with the original at normal viewing size, then inspect important areas more closely. Look for cleaner edges and useful detail, but also check for plastic-looking skin, halos, repeated textures, altered text, or changes to a person’s identity.

The source may be too small or damaged, or the enhancement may be too strong for the subject. Try a more restrained request, use a better original, and judge the result against the source instead of choosing the version with the most visible change.

It can improve presentation in some cases, but it cannot reliably recover information that was never captured. For severely blurred images, use the largest original available and treat any newly defined detail as an approximation that needs careful review.

For simple crops and exposure adjustments, either order can work, but keep the workflow easy to inspect. Make structural edits first when they change composition, then enhance the version you plan to use and compare it with the unenhanced original.

Enhance an image
Enhance an image